Add a field by selecting Add field in the builder and picking a type; arrange fields by dragging them into place. The live preview on the left updates with every change, so you always see exactly what respondents will see.
Add a field#
- In the builder, select Add field (or Add your first field on a new form).
- Pick a type from the picker: search by name or scroll the groups. Basic types like Short text, Long text, Email, and Phone Number sit at the top; further down you'll find choice fields, File Upload, Address, Signature, and more.
- The new field opens for editing: type its label, switch on Required if the answer is mandatory, and select Save.
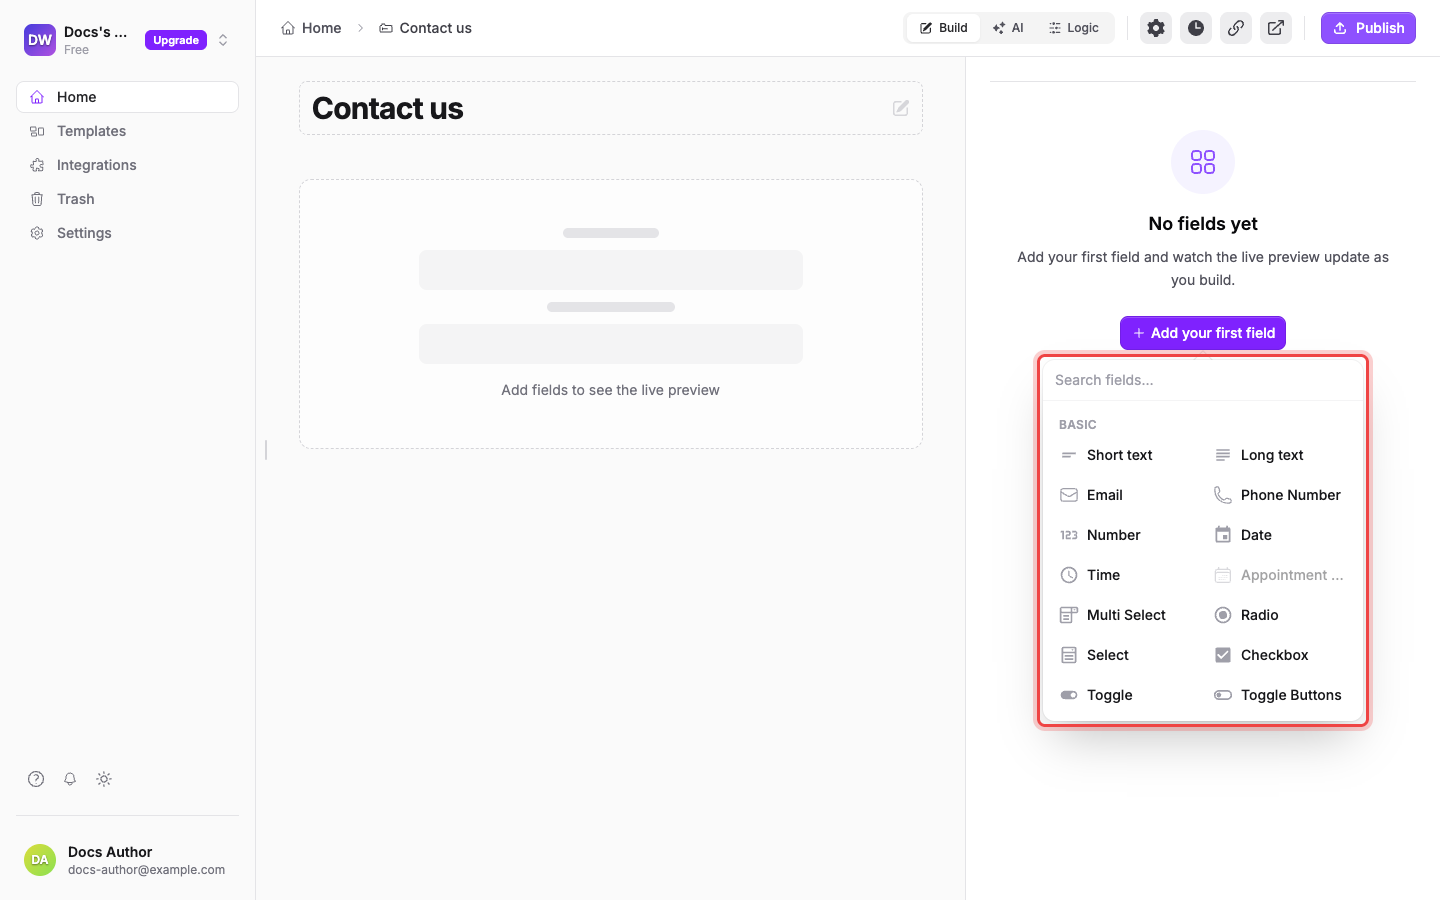
Repeat for every question. A contact form needs just three fields: a Short text for the name, an Email, and a Long text for the message.
Edit and arrange fields#
Select a field in the list to change its label, placeholder, help text and rules inline; Advanced edit opens every setting. Drag the handle at the left of a row to reorder. Both are covered in detail in How the form builder works.
When the form asks everything you need, it's time to publish and share it.