Connect your own Authorize.net merchant account to your workspace, then add a Payment field to your form. Every payment a respondent makes is processed on your Authorize.net account, so the money goes to you and Maxforms never holds it.
Get your credentials from Authorize.net#
You need three values from the Authorize.net Merchant Interface. Log in as an account administrator, open Account in the sidebar, and select Account and API Settings:
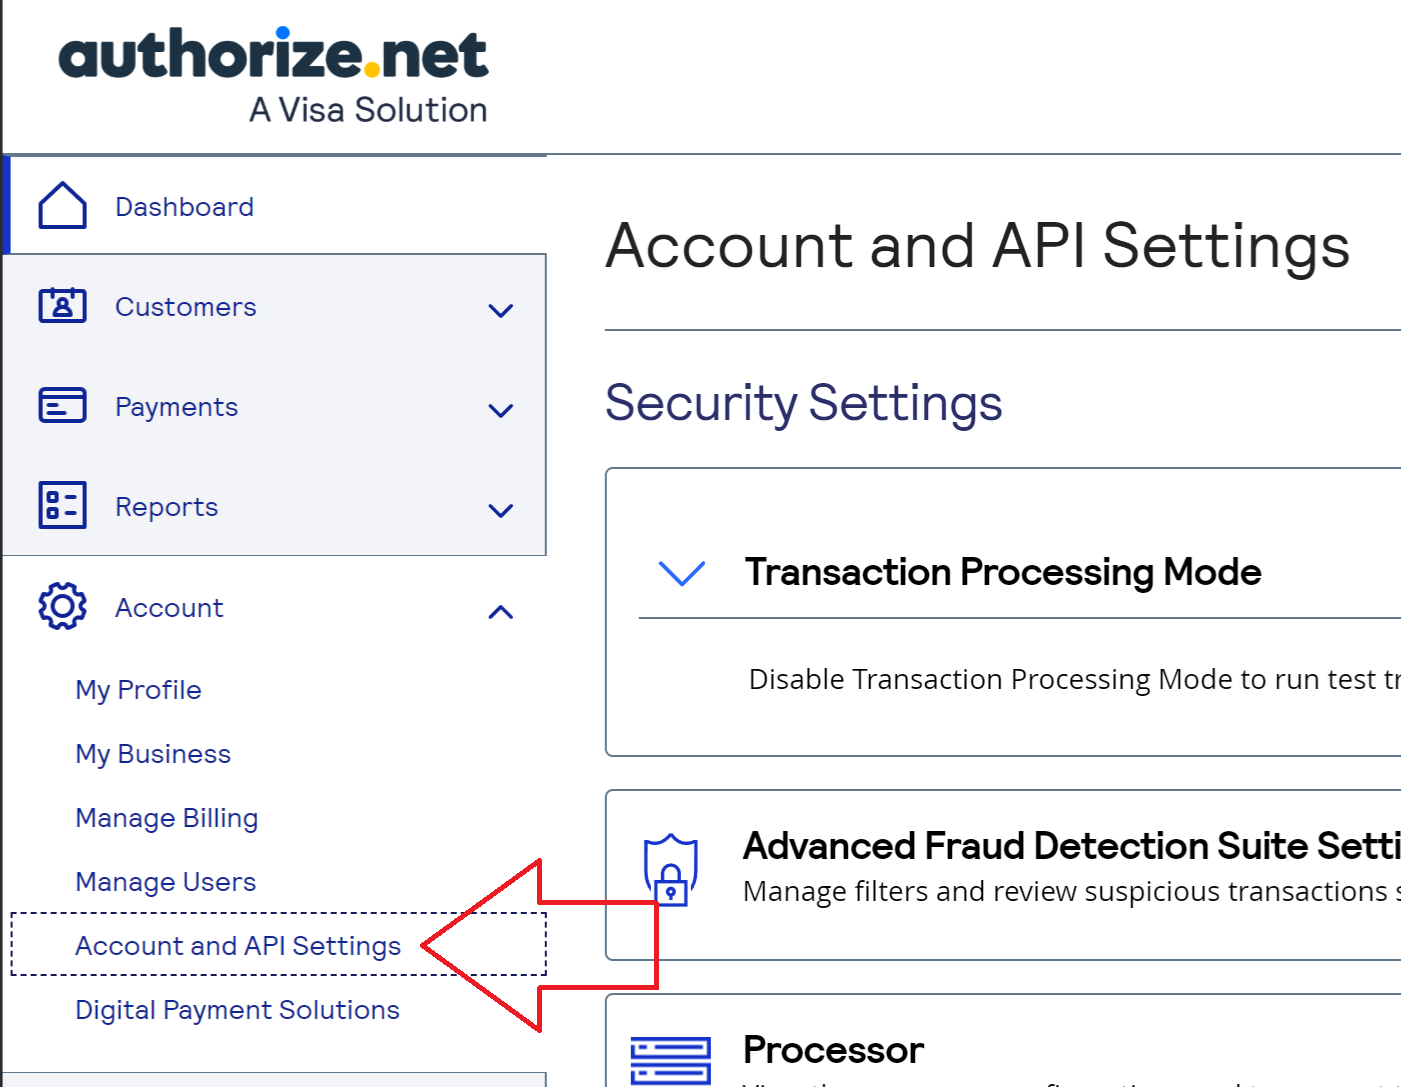
Under Security Settings, select API Credentials and Keys:

On that page you collect all three values:
- API Login ID, shown at the top of the page.
- Transaction Key, under Create New Key(s) select New Transaction Key and submit.
- Signature Key, on the same page select New Signature Key and submit.
If your account still shows the classic interface, the same page lives under Account > Settings > Security Settings > General Security Settings > API Credentials & Keys.
Authorize.net shows the Transaction Key and Signature Key only once, right after you generate them, so copy each one immediately. If you lose a key, generate a new one and reconnect.
Two things to know before generating keys:
- Generating a new Transaction Key or Signature Key expires the old one within 24 hours (immediately if you tick Disable Old Transaction Key Immediately). If another system already uses your current keys, update it too.
- You do not need the Public Client Key. Maxforms fetches it from Authorize.net automatically when you connect.
Connect the account to your workspace#
- In the sidebar, select Integrations.
- Under Available integrations, find the Authorize.net card and select Connect.
- Paste the API Login ID, Transaction Key, and Signature Key, then select Connect.
Maxforms verifies the credentials with Authorize.net and registers a webhook on your account so payment statuses (settlements, refunds, voids, and fraud holds) stay in sync automatically. When it succeeds, the account appears in your connected accounts list.
If the connection is rejected:
- "Authorize.net rejected these credentials": one of the values has a typo, or the API Login ID belongs to an inactive account. Re-copy the values and try again.
- "This Authorize.net account has no Public Client Key yet": generate one in the Merchant Interface under Account > Settings > Security Settings > Manage Public Client Key, then connect again.
Add a Payment field to your form#
The field is the same for every provider. Follow Add a Payment field, and at Payment account pick your Authorize.net account.
You are the merchant of record for every payment: see what that means.
Once connected, take a few minutes to harden your account against card testing: see Recommended Authorize.net fraud settings.