Connect your own Stripe account to your workspace, then add a Payment field to your form. Every payment a respondent makes goes directly into your Stripe account; Maxforms never holds your money. Connecting takes two steps: link the Stripe account to your workspace, then enable it on the form.
Connect your Stripe account#
- In the sidebar, select Integrations.
- Under Available integrations, find the Stripe card and select Connect.
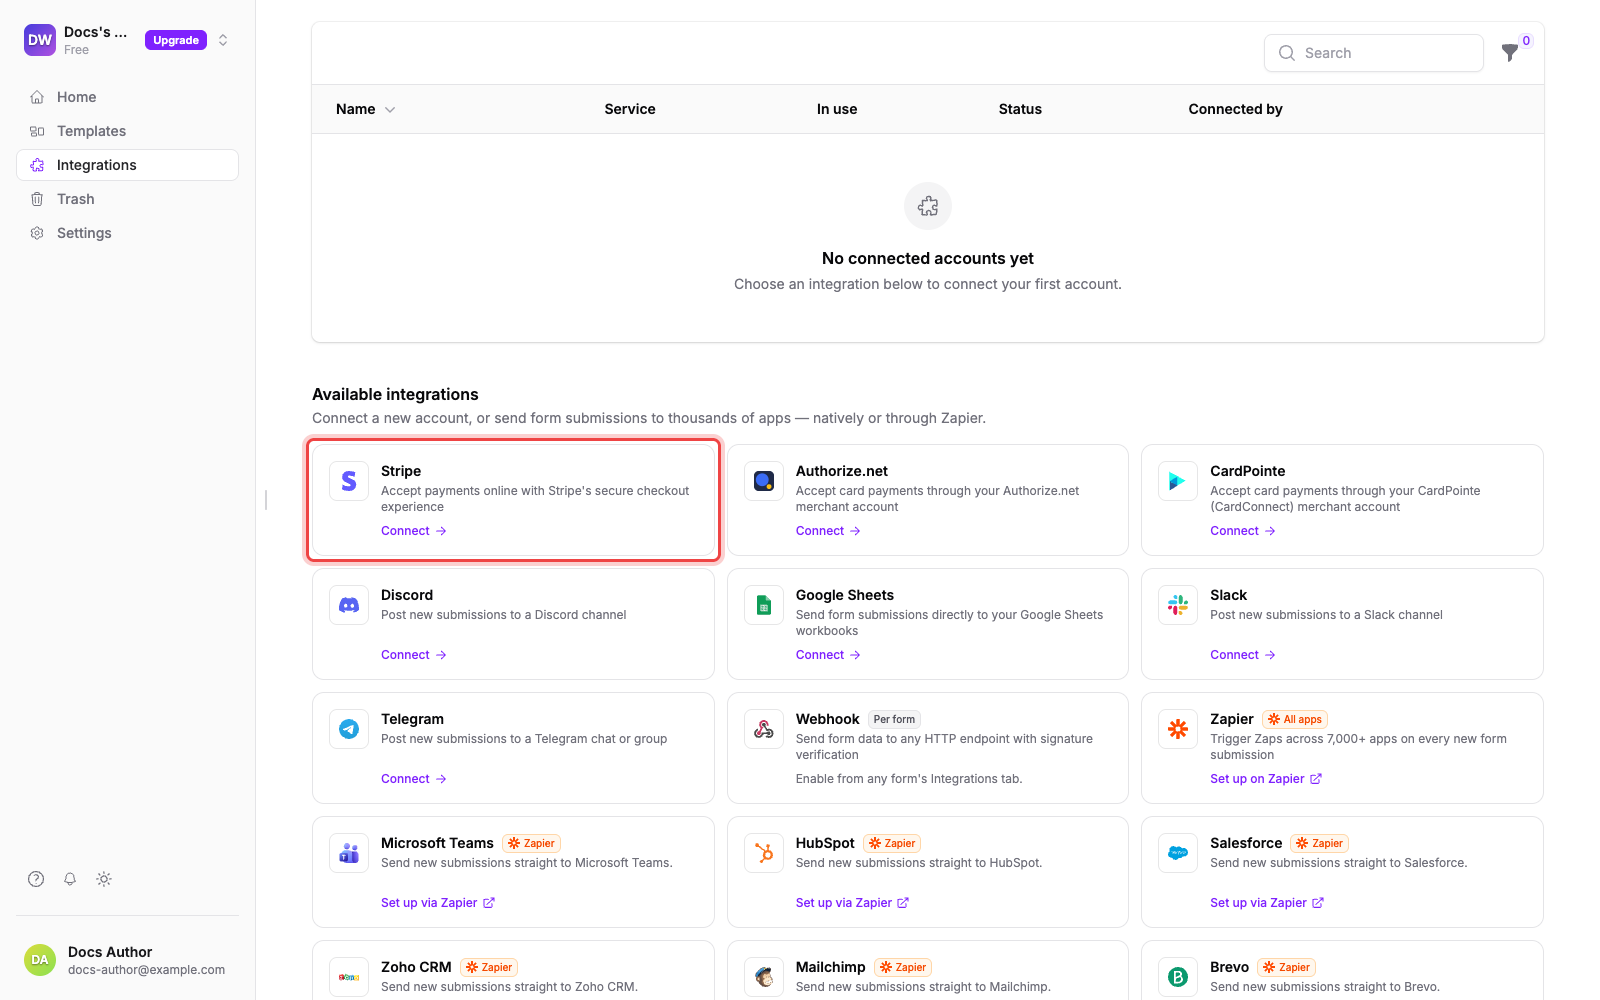
You're taken to Stripe's own secure onboarding, where Stripe asks for your business details, a bank account for payouts, and identity verification. Maxforms never sees this information: it goes to Stripe directly. When you finish, Stripe sends you back to Maxforms and your account appears in the connected accounts list on the Integrations page.
If you leave Stripe's onboarding partway through, nothing appears in your list. Select Connect on the Stripe card again to pick up where you left off.
You can also start from a form. On its Integrate tab, select Connect on the Stripe card. When Stripe sends you back, the builder opens with the Payment field ready to add.
Add a Payment field to your form#
Until your workspace has a connected payment provider, the Payment field is greyed out in the add-field menu:
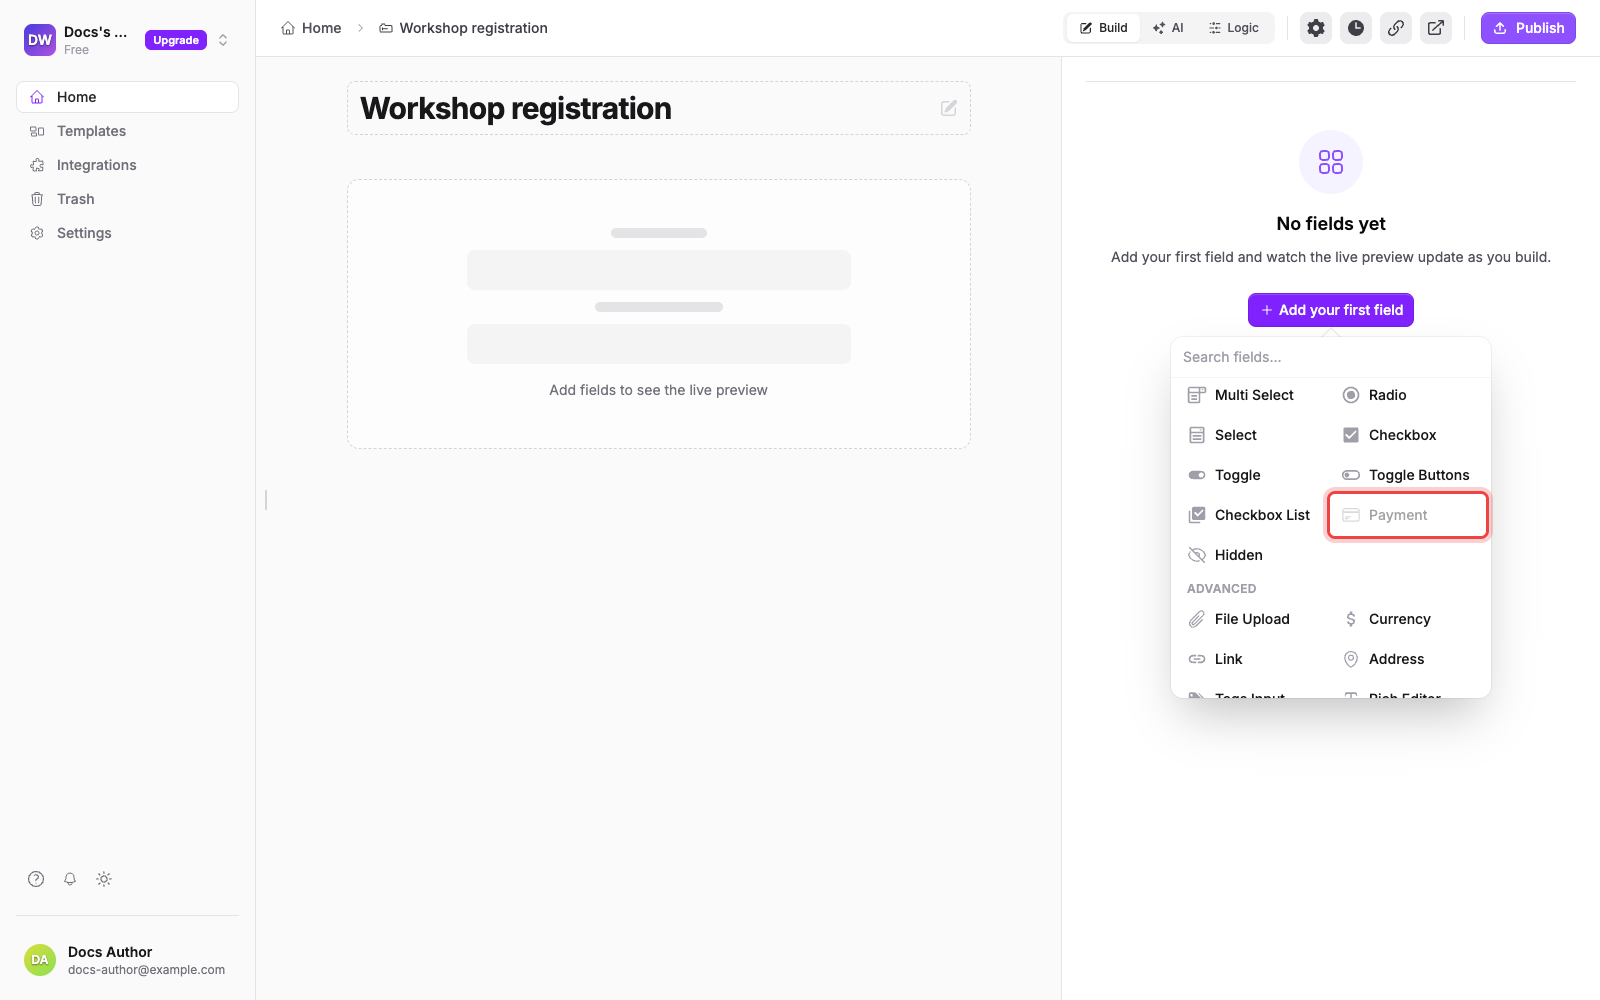
Once Stripe is connected:
- Open your form in the builder and select Add field.
- Select Payment.
- Check that Payment account shows your intended Stripe account.
- Enter a Payment description explaining what the customer is buying.
- Under How much to charge, choose Fixed for one price. See Set the amount for the other four modes, coupons, and fees.
- Enter the Amount under Fixed price.
- Select Submit.
If your workspace has Services enabled, check How often and When to collect too. For immediate one-time payment, choose One time and Charge at submit.
Under Accepted payment methods, choose the available methods customers can use. Apple Pay, Google Pay, and Link appear with Cards where available.
Pick the account on the payment field#
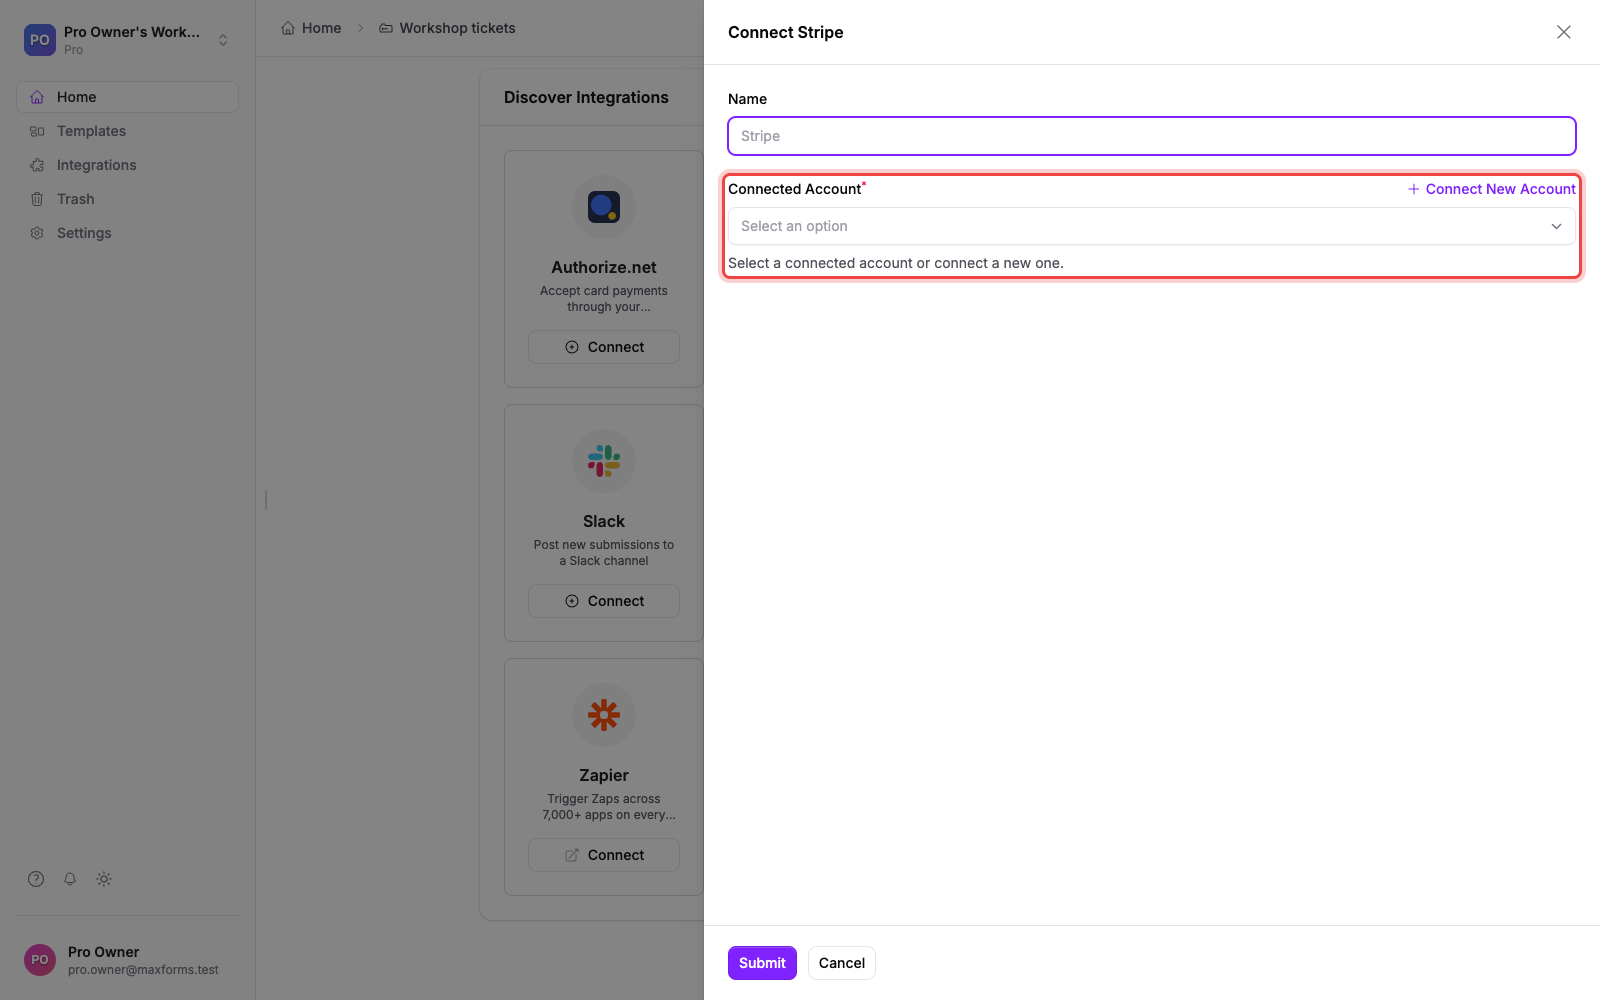
Each form also needs to know which Stripe account its payments belong to. You choose that on the payment field itself.
- Open Advanced edit for your Payment field.
- Check Payment account. Use Change to choose a different connected account when needed.
- Select Save changes.
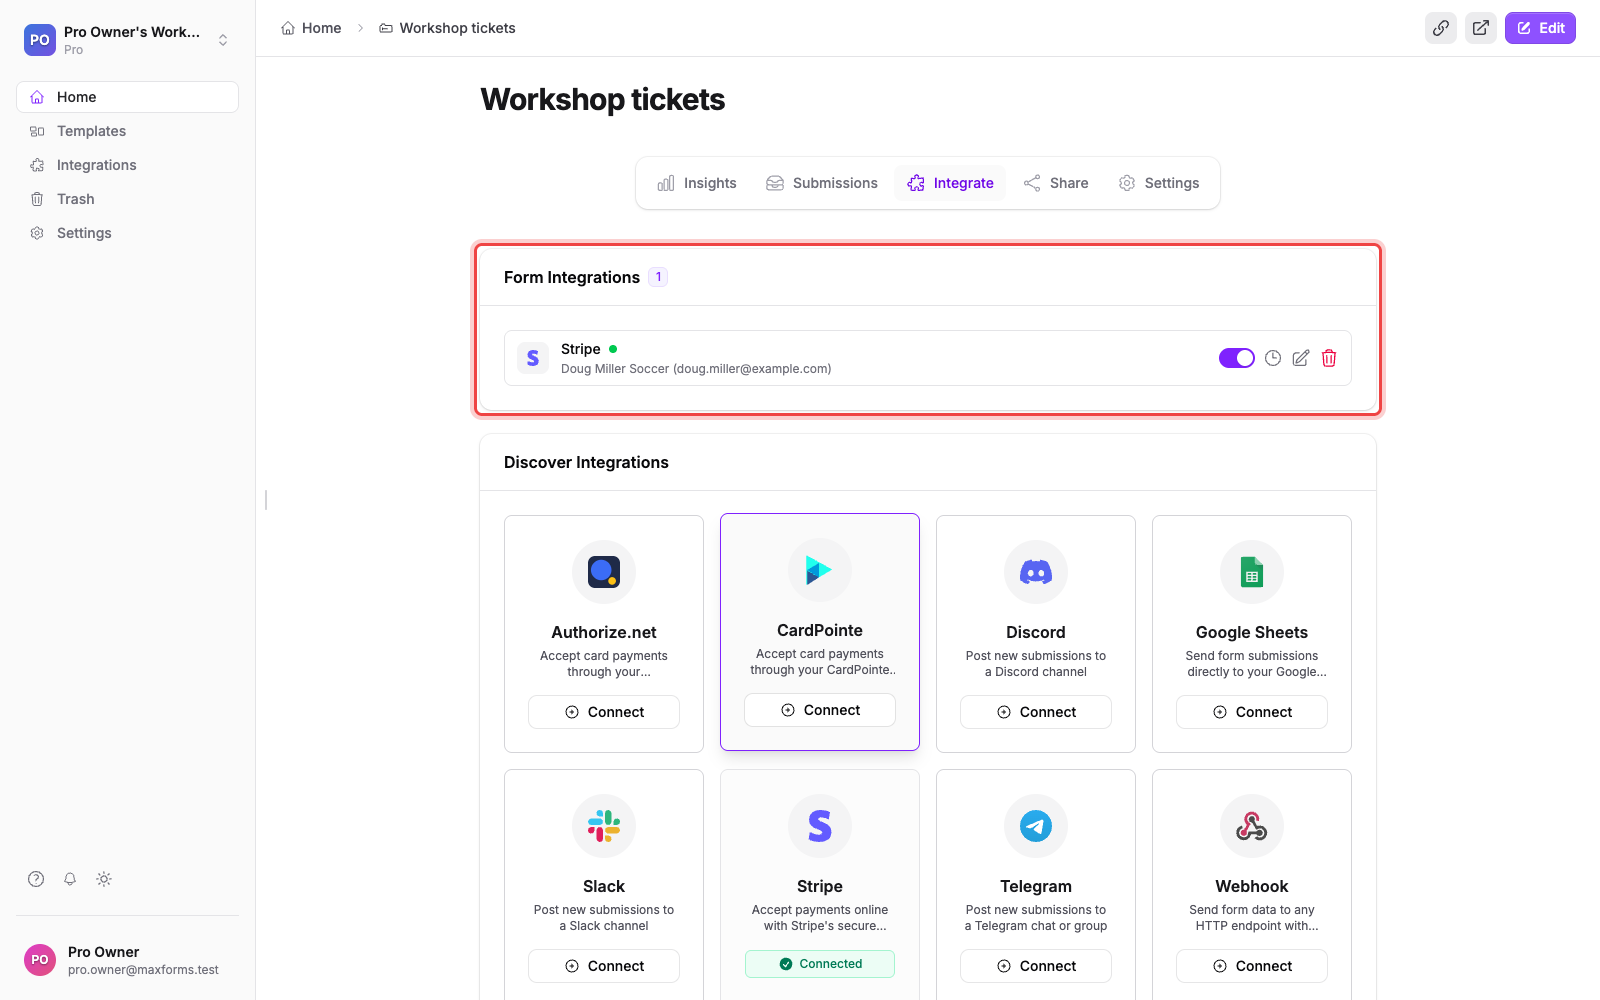
Once you publish the form, the Integrate tab lists Stripe under Form Integrations. The row is read-only there; select Configure on field to jump back to the field.
Publish and take your first payment#
Select Publish in the builder. If the payment field has no account picked yet, Maxforms blocks publishing and shows a Choose a payment account message with an Open payment field button; pick the account and publish again. Maxforms picks the account for you only when the workspace has exactly one connected account for that provider and you can manage integrations.
Respondents see the payment summary and Stripe's secure checkout right on your form, and pay without leaving it:
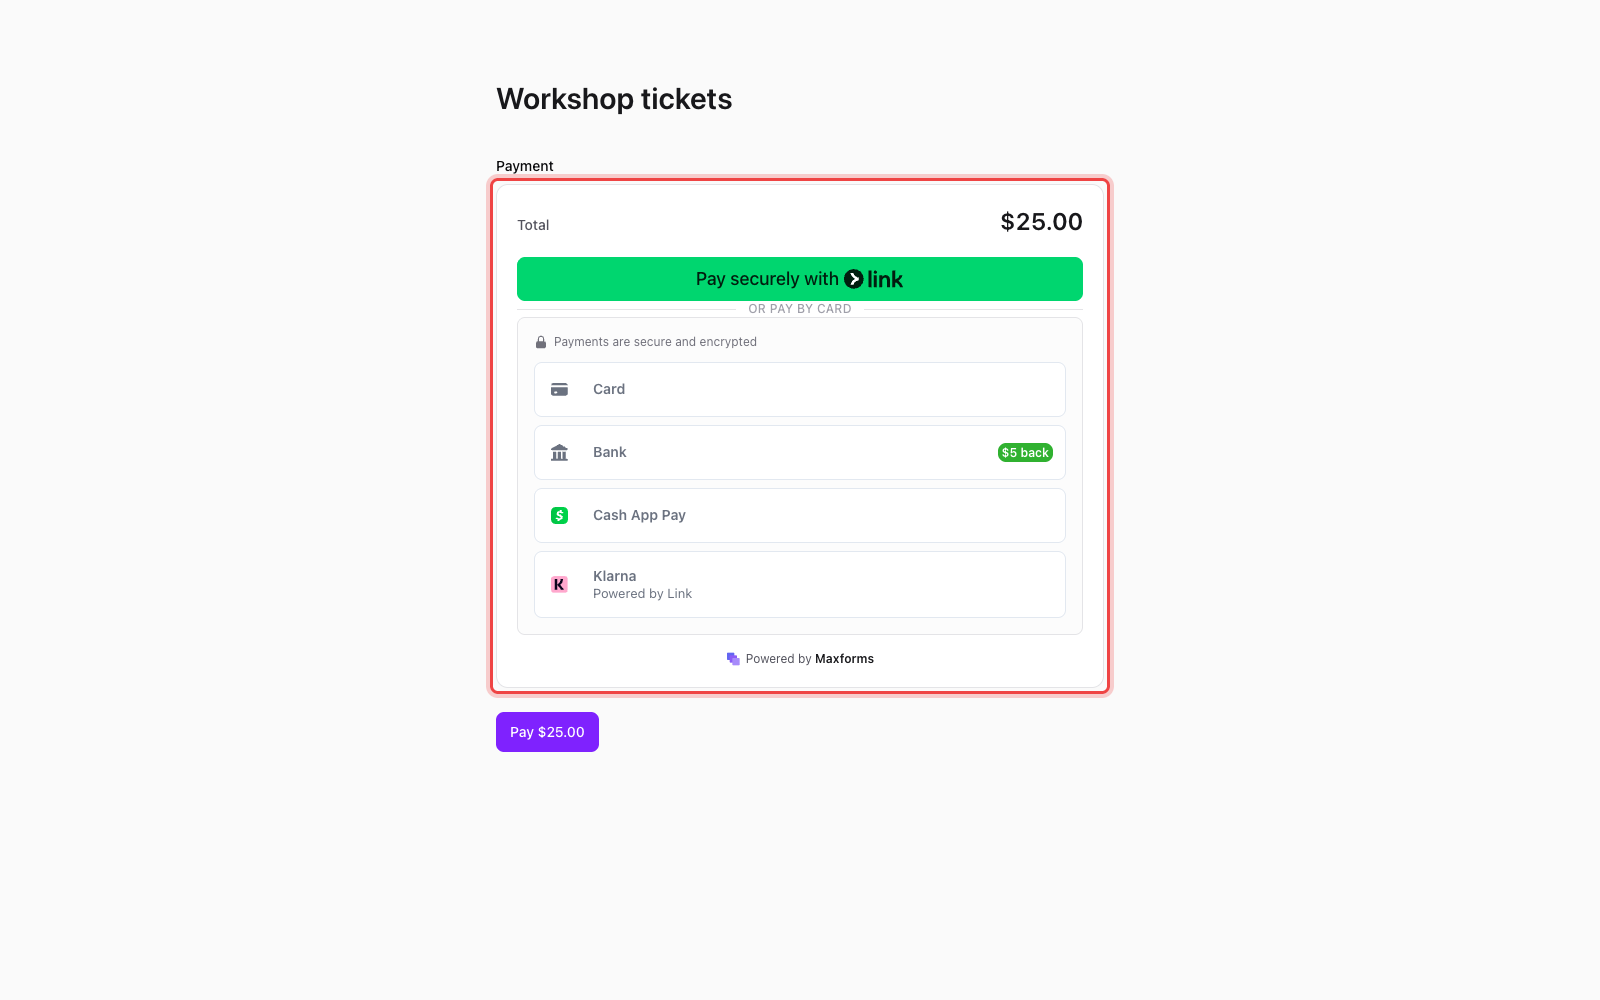
Paid submissions land in your Submissions inbox marked Paid, and the money lands in your Stripe account. Before you share the form widely, walk through a test payment: see Testing payments.
Use Stripe with Services#
If Services is on for your workspace, the same field can also take subscriptions or hold a request for review: see Choose your service setup.