Zapier is set up on Zapier's side, not in Maxforms. Start a Zap, choose Maxforms as the trigger app, pick New Form Submission, and sign in to authorise it. From then on, every response to the form you chose starts a Zap.
What you can automate#
A Zap runs whenever your form is submitted, and then does whatever you tell it to in another app: create a CRM contact, add a task, append a row, send a message, start a sequence.
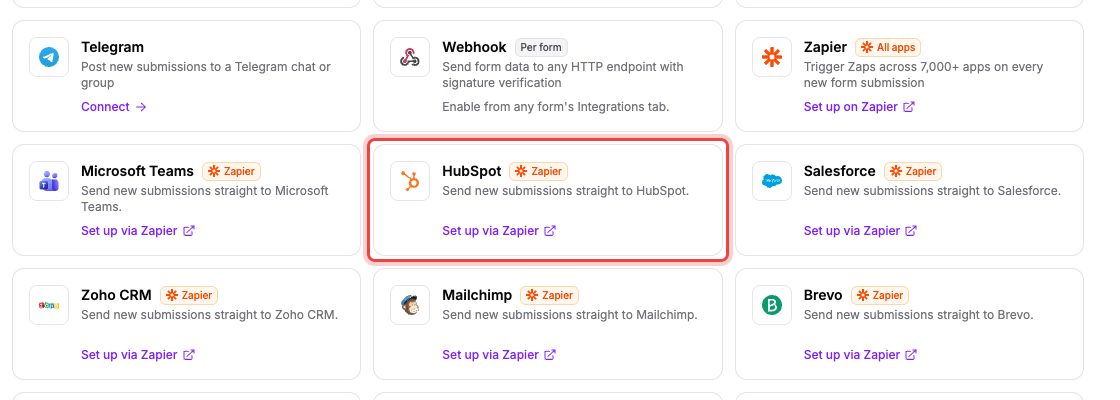
The Integrations page lists shortcuts for common destinations: Microsoft Teams, HubSpot, Salesforce, Zoho CRM, Mailchimp, Brevo, Airtable, Notion, Trello, Asana, ClickUp, Calendly, Google Calendar, Twilio, and Shopify. They're signposts, not separate integrations: each one opens that app paired with Maxforms on Zapier, and the Maxforms side of the setup is identical for all of them.
Slack and Google Sheets have their own built-in integrations that don't need Zapier. Use those instead; see Post new submissions to Slack and Send submissions to a Google Sheet.
Start from Maxforms#
- In the sidebar, select Integrations.
- Find the Zapier card and select Set up on Zapier.
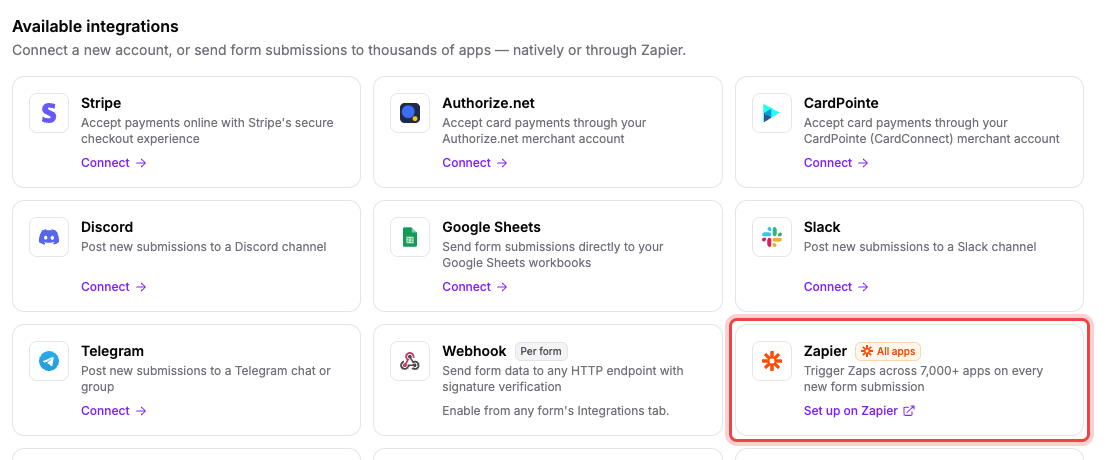
The Maxforms page on Zapier opens in a new tab. The same card is on each form's Integrate tab if you'd rather start from the form.
Build the Zap#
In Zapier:
- Create a Zap and choose Maxforms as the trigger app.
- Choose the New Form Submission trigger: it's the only Maxforms trigger, and it fires on every completed response.
- Connect your Maxforms account. Zapier sends you to a Maxforms page to approve it.
- Back in Zapier, choose which of your forms should trigger the Zap.
- Run Zapier's test step. It pulls a recent response from that form so you can see the real field names.
- Add the action you want, map your form's answers onto its fields, and turn the Zap on.
What the approval screen asks for#
When Zapier sends you to Maxforms, you see a page headed Authorize Zapier listing what it will be able to do:
- See your form names and fields
- Read the responses people submit to your forms
- Send new submissions to this app as they arrive
If you belong to more than one workspace, pick the one this Zap should use under Authorize for workspace, then select Authorize. That choice is permanent for the connection: a Zap authorised for one workspace can't see forms in another. To automate forms in a second workspace, create a second Maxforms connection in Zapier and authorise it for that workspace.
You'll see this screen every time you connect, even if you've authorised Zapier before, so the workspace is never chosen for you by accident.
Once connected, Zapier appears under Apps with access, where you can see exactly what it's permitted to do and revoke it.
What each Zap run receives#
The form's name, when the response was submitted, an ID for the response, and one field per question on your form. Answers to questions that allow several choices arrive as one comma-separated value.
Zapier uses the response ID to make sure the same submission never triggers a Zap twice.
Use Zapier with Services#
See If you use Services for how booking and subscription changes affect what a Zap receives.
Check a Zap is live#
Open the form's Integrate tab. The Zapier card shows a subscription count once at least one live Zap is listening to that form. If you expected a Zap and the count isn't there, the Zap is probably still off in Zapier.
Turn it off#
Turn the Zap off or delete it in Zapier; that removes the connection from the form and the count disappears. There's nothing to switch off in Maxforms.
For developers#
Building your own integration rather than a Zap? The same endpoints Zapier uses are documented in full, with authentication and scopes in the API overview, and the subscription endpoints, delivery format, and exact submission payload in Webhooks. Which calls the Zapier app itself makes is set out in the worked example.